Eachine TX03 – Splitting the Camera and VTX, and using an OSD
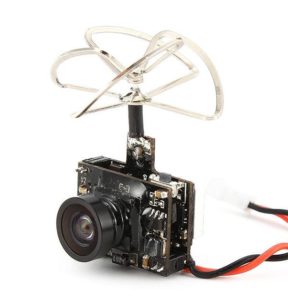
This post is intended to explain how to wire an Eachine TX03 all-in-one camera and video transmitter after splitting it in half. You might want to split it to reposition or extend the antenna, or perhaps you have destroyed one part, but can save the rest. Regardless of your reason, once you’ve split the AIO into its two components, the following diagram can serve as a guide on how to get it working again.
Firstly, the two pins at the top of the unit only exist to keep the AIO rigid. There is no electrical purpose for these pins, so all you have to do is cut them.
Secondly, the group of two pins at the bottom of the unit is not used in the VTX. The voltage is passed straight through to the camera.
To rewire the unit, you should send 3.3V or 5V from your flight controller straight to the two pins on the camera. From there, run three wires from the 3-pin group on the camera to the matching group on the VTX. You can snip the video wire and pass through the OSD on the way.
These wires are small and delicate so once you’ve soldered all your connections and tested you haven’t shorted anything, be sure to reinforce all the connections with a generous helping of hot glue to prevent connections coming undone under the stresses and vibration of flight. 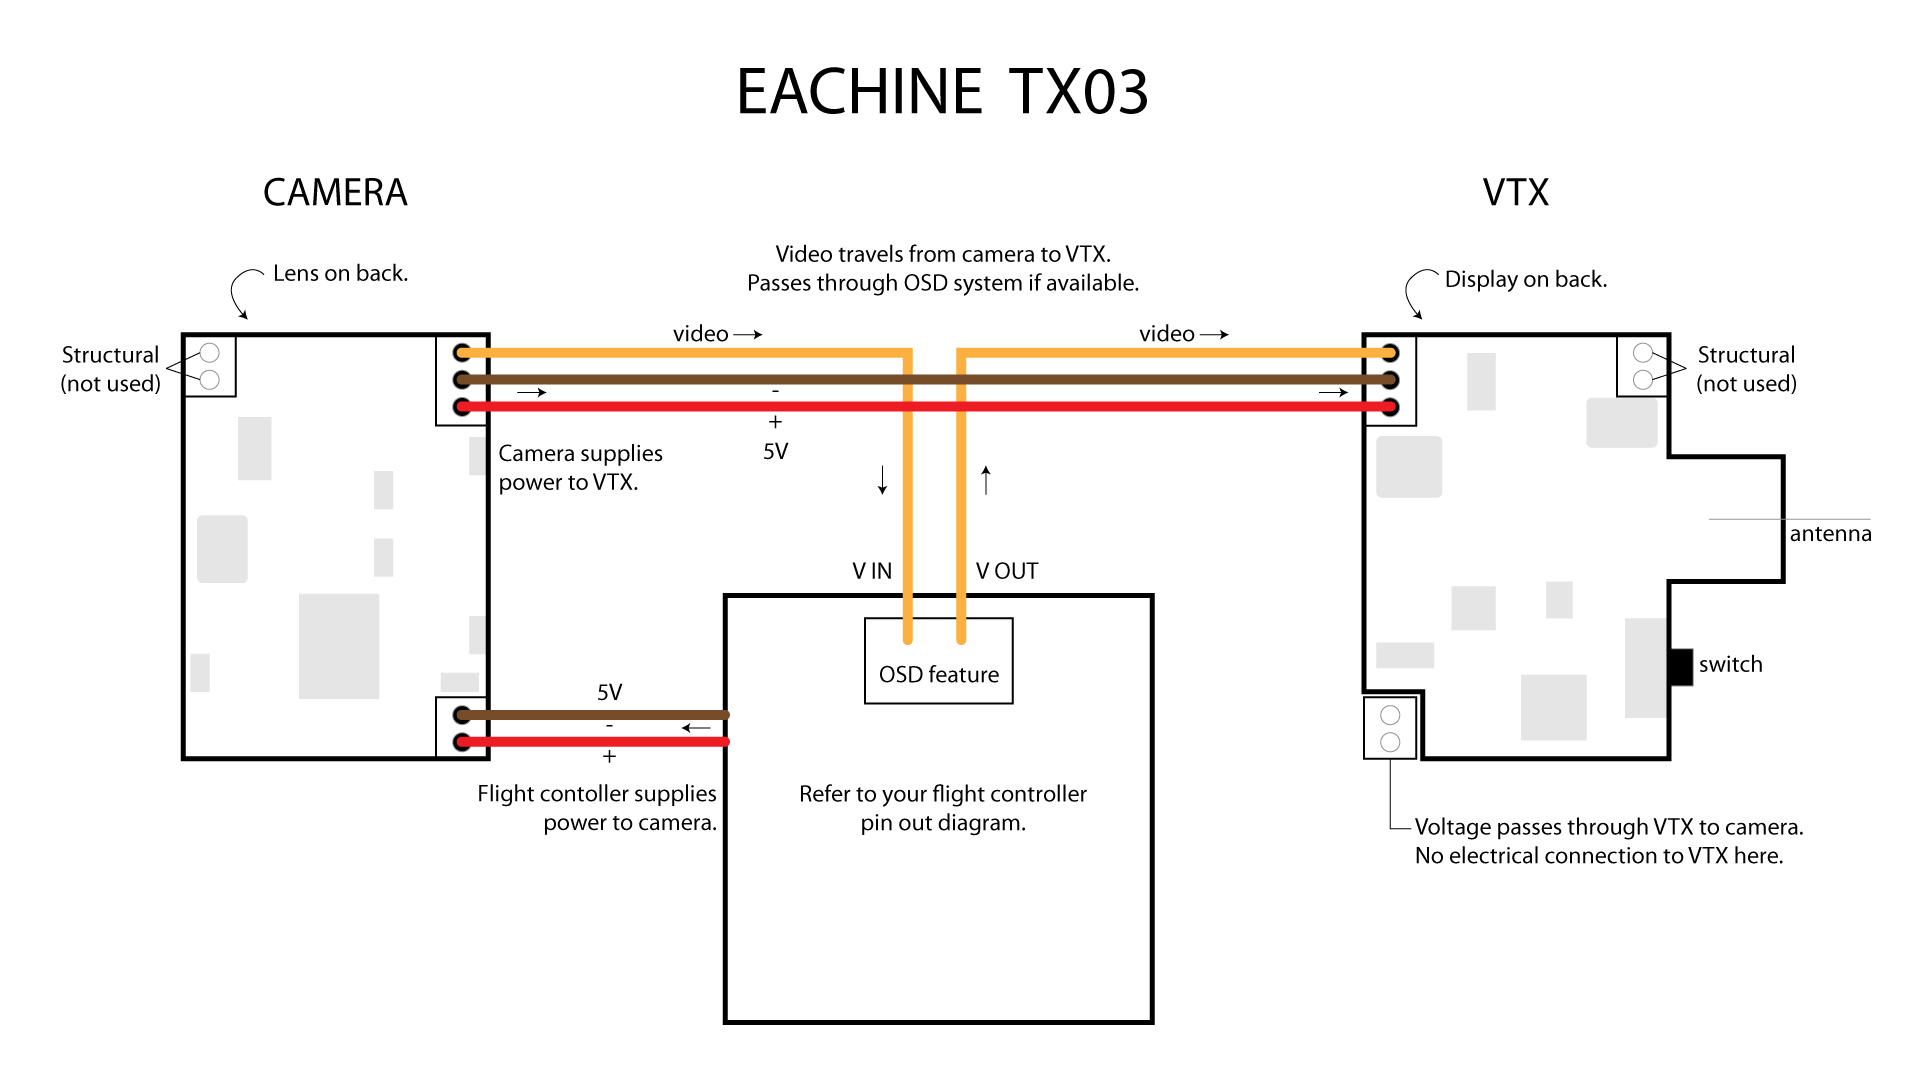
Below is a practical example from my own quad of how this wiring might look. I included connection points at strategic locations so that the camera, vtx, and flight controller can all be removed without disturbing the main lines which run the length of the quad.
